Hello and welcome to Part 3 of my Amiga 1200 Upgrade series! Today I am working on upgrading the CF Card on the Amiga 1200, which involves a full data transfer from the existing 4GB card to a new 8GB card using the Amiga 4000T, and upgrade from ClassicWB to AmigaOS3.9 and AmiKit Real 8.1 too!

For those who may have missed them, the original A1200 arrival in October, Part 1 and Part 2 posts are here so you can catch up from the start and avoid me rehashing material already covered.
As you may recall in Part 2 I purchased a TrueIDE card (made by Individual Computers). At the time I was trying to work out how to connect floppy power connection to it given the use of the existing RapidRoad pass through floppy connector on the Amiga 1200 board.
I then hit problem number two - one I really should have thought through before buying it...the connection is 3.5 not 2.5, so it needs to be mounted on the left side of the 4 way IDE adapter on my Amiga 1200, which means it doesn't fit inside the case anyway with CF cards in it!

The TrueIDE card assumes it is directly connected to the IDE male connector (ie. no standard IDE ribbon cable can be connected to it). This works great in large Amiga cases and PC cases, but not the A1200:

I connected up a external floppy drive power source to test things out, and then saw the problem very clearly when connecting the CF cards to it.


Even with this setup correctly and the external power connected, I couldn't get the trueIDE to be detected by the system. To simplify things I moved the bootable 4GB CF card that I know works into the True IDE by itself and removed the 2.5 CF card adapter and cable, leaving just the TrueIDE connected to the 3.5 primary connector on the 4 way IDE adapter:

No Go.
I tried populating both ports and using the 4 second reboot thing to switch the primary in case it was set wrong, but made no difference either.

A little frustrated by this stage, I pulled apart the adjacent Amiga 4000T, removed all the IDE connectors from the Buddha IDE card, and connected the TrueIDE to it to test (with floppy power connected of course):


That didn't work either...The system kept constantly rebooting with it plugged in...

So I decided to give up on the TrueIDE completely for now. I put the Amiga 4000T IDE connectors back on the Buddha card and booted it up straight away as normal, proving that the IDE ports work fine.
Why the 8GB CF card? The 4GB CF card supplied to me with the Amiga 1200 was completely full, and I mean full. 467k free...I wanted to do lots with the Amiga 1200 but the CF card being full was a problem I had to address!
I already had a 8GB CF Card spare available (which I normally use on the AmigaOne X1000 CF Card slot for booting Linux kernels but haven't used for a long time), so I decided to use that. Besides, the 8GB was wasted there as I really only need 1GB for that card. I will repurpose another smaller CF card for that role in the future if needed...
I also made the decision to utilise the USB support (via Deneb USB card) on my A4000T to prep the 8GB CF card using a USB CF card reader. I wanted to keep this all work confined on the original Amiga hardware as much as possible. I could then copy across the contents I want to use on the Amiga 1200, and there is a lot to do...so I quickly got to work.
I prepped the CF Card using usbscsi.device in HDToolbox on the Amiga 4000T, using three partitions - 1.8GB UDH0 named Workbench, 3.7GB UDH1 named Data1 and 1.8Gb UDH2 named Data2:

I left the device names UDH0, etc, because I already have DHx and HDx series on my A4000T and want to avoid clashes, and make it easy to connect the CF card anytime in the future for large file transfers if needed.
With the partitions and devices set I then saved the partition detail and disconnected the USB reader and reconnected and the partitions could then be formatted from Shell using the usual
Format drive UDH0: NAME Workbench FFS QUICK
I then used the RapidRoad on the Amiga 1200 to copy the contents of the 4GB CF card to a FAT32 64GB usb stick, and then connected it to the A4000T to copy the data to the new 8GB CF Card.

Important things I also copied across was the AmigaOS3.9 CD contents to a Temp/AmigaOS39 folder, the Boing Bag 3.9-1 and 2 updates, and the AmiKit Real 8.1 setup files to the Workbench partition of the 8GB CF card.
With all this done (which I left running overnight on the saturday night as the number of files is considerable on the Amiga 1200 and Amiga 4000T side to copy across). In the morning I checked and it was completed.
The original Workbench partition on the 4GB CF Card was a ClassicWB installation using 50MB space. The partition wasn't much bigger than this, which made it unworkable for upgrading to AmigaOS3.9 and definitely not able to upgrade to AmiKit Real either. The new 1.8GB partition should work great.
I connected the new 8GB CF Card to the 2.5" IDE to CF Card converter in the A1200 and booted into the ClassicWB environment transferred from the old 4GB Cf Card. So far so good, except that I can't see the Data1 and Data2 partitions. I presumed that this was because the partitions where created and formatted using a newer FastFileSystem version than ClassicWB knows about.
I figured upgrading to AmigaOS 3.9 would fix this problem, so I got to work with that task next. As usual I assigned AmigaOS3.9 to the drawer where I copied the AmigaOS 3.9 install files as it is needed for the installation, and for the Boing Ball 1 and 2 updates too.

As this ClassicWB install is a simple OS3.1 base install, I could upgrade it:

The install then got underway.

All done - I rebooted the system:

Now with AmigaOS 3.9 installed, the desktop looks a little strange but I'll clean that up later...

I then got to work installing the Internet Software component of AmigaOS 3.9, which needs to be installed after the initial installation - again I had to do the assign before running the installation again:


With the Internet software (Mainly the Genesis and AMITCP stack installed), I could then install Boing Bag 1 and 2 updates for AmigaOS 3.9:


Boing Bag 1 done - after a reboot I got onto Boing Bag 2:


I hit a problem with the ROM update installed as part of Boing Bag 2, and needed to boot no startup and modify the s:startup-sequence SetPatch line to skip the rom updates for scsi.device (as below).

Then the system booted normally following the update.

With the Boing Bags installed, I then renamed the Workbench partition to AmiKit in preparation for the next section of the installation - installing AmiKit Real 8.1 on the Amiga 1200!

First though I removed the source AmigaOS 3.9 files and boing bag updates since I no longer needed them to free up some space for the AmiKit Real installation.

I played around with the screen mode and fonts settings to make things a bit nicer but to be honest it wasn't needed so I haven't showed those steps. I then started the AmiKit Real 8.1 installation:

I covered this installation in a lot of detail on my earlier AmiKit Real blog posts (Part 1 and Part 2) on getting AmiKit Real 8.1 working on the Amiga 4000T, so here I will just focus on the sections of the installation specific to the Amiga 1200. You get one warning before everything is overwritten by AmiKit Real:

The file extraction then gets underway and takes quite a long time. When it does finish you get the completion prompt to reboot your machine:


On reboot we now get the AmiKit Real 8.1 boot screen and we know things are going well:

The initial Workbench comes fairly quickly, although not as fast as the original ClassicWB build of course! But looks a hell of a lot better too:

I set to work with some localisations for Australia and Adelaide - date and time settings, etc.

I picked a small iff Amiboing backdrop to keep chip memory usage down on the integrated Dopus workbench replacement setup in AmiKit Real:

Things are looking good! The extra memory on the ACA1233-55 comes in real handy when using AmiKit Real. It is still important to optimise the Chip memory usage since the Amiga 1200 does not have the RTG option available. Still looks nice though in my opinion!

I then needed to reinstall the Poseidon software for the USB support to work again using the Rapid Road - must have been lost during the AmigaOS 3.9 / Amikit Real installations. Easy fixed though.
With AmiKit Real now installed with USB support again I now have sgrab, so I can start taking screenshots to upload to this blog entry rather than grainy iPhone pictures! Here I am playing some modules through Hippoplayer:

The Prefs drawer under AmiKit Real 8.1 on the Amiga 1200 looks great:

There is still a lot more work to do - getting internet working via PCMCIA WiFi card to download the latest version updates for AmiKit Real 8.1 to 8.6 current release, adding MAS Player hardware, etc, but that is for another time as I have run out of time for the weekend.
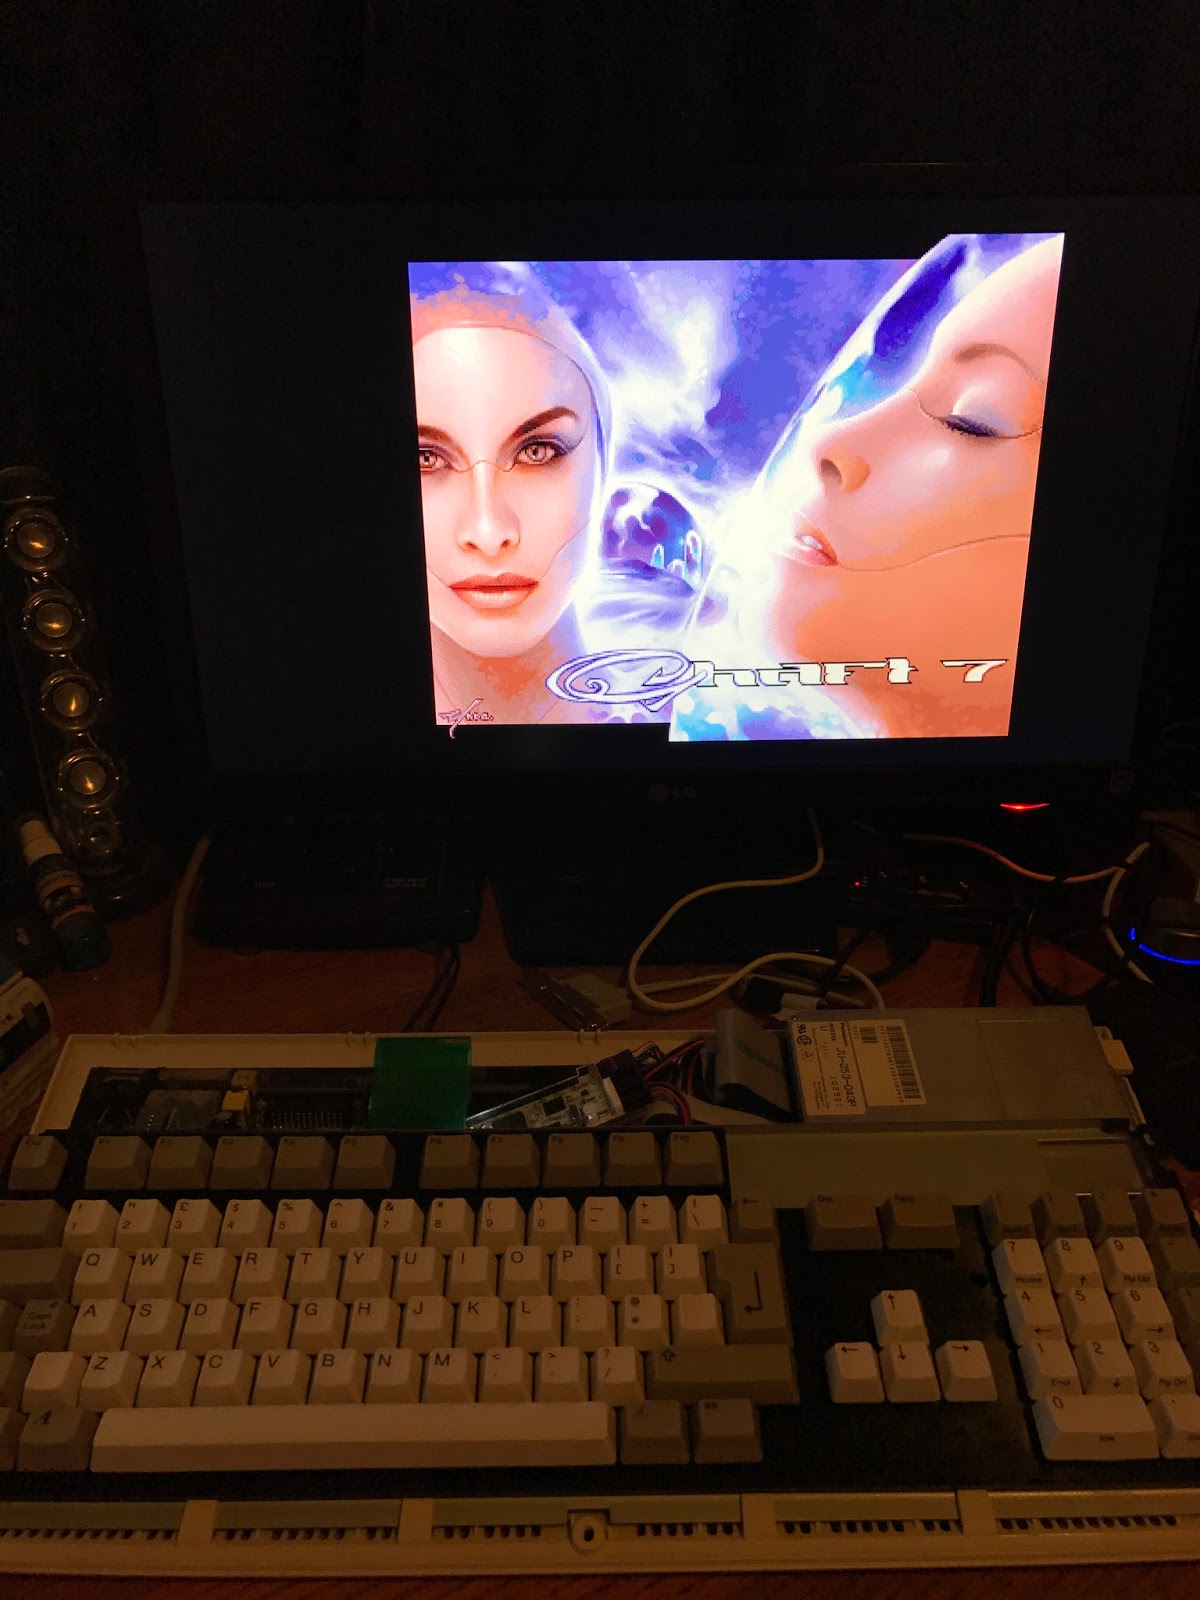
Time to relax and enjoy a 030 AGA demo or two on my newly upgraded Amiga 1200/030-55 with RapidRoad USB running AmiKit Real...Shaft 7 by Bomb - yes I think so...
I then put the Amiga 1200 back together as it will probably be at least next weekend before I can do more with it.
I hope you enjoyed this series so far and hopefully I'll see you for the next part of my Amiga 1200 upgrade series soon!
So basically you weren't able to get the TrueIDE to work in either a 1200 or 4000? That really sucks since I just picked up a few to replace hard drives :(
ReplyDeleteYou may have fried the TrueIDE module by powering it from an external PSU. There is a chance that there are differing ground potentials between the A1200 PSU and the external PSU thus allowing current to flow in undesirable ways. It is just a guess though, you may have gotten a bad unit.
ReplyDelete